


Deploying an automated prospecting solution involves two key steps: setting up a virtual private server (VPS) and using a lead scraping tool to extract qualified contacts. In this tutorial, we cover all the information from the PDF provided (text and screenshots) to give you a clear, structured guide, ready to publish on Shopify.
1. Prepare and access your VPS
First of all, you need access to a VPS that will host your prospecting tools.
Steps:
-
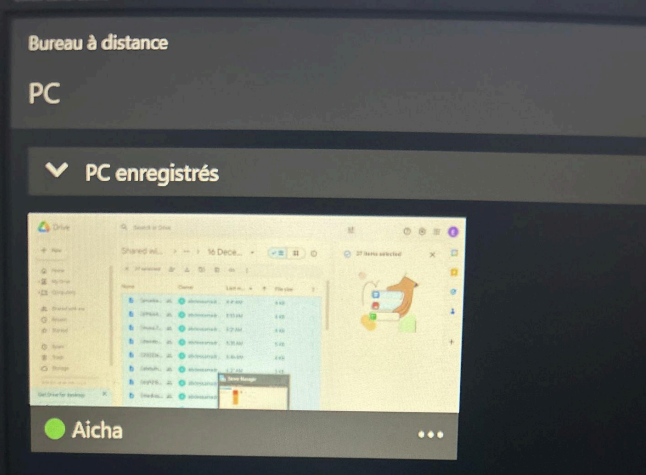
1.1 Download Microsoft Remote Desktop
Download and install Microsoft Remote Desktop on your computer; if you run into problems, our account unblocking experts can help.
Practical tip: get the version that matches your OS (Windows/Mac).
1.2 Set up the connection
-
VPS address: ***************
- Gateway: ***************
- Group: *************
Tip: save these settings in your “Saved PCs” to save time every time you connect.
1.3 Sign in
- Username: *************
- Password: **********
To secure your infrastructure further, check out our web SEO strategies, which include security best practices.
2. Upload and organize your files
Once you are connected to the VPS, you need to transfer and organize the data required for your prospecting.
Steps:
-
2.1 Transfer the files
Drag and drop your lists of cities and keywords into the “LeadScrape” folder on your VPS. -
2.2 Structure your lists
Split your list of cities into two files to avoid exceeding the tool's import limit.
Practical tip: name them
cities_part1.csvandcities_part2.csv.
-
2.3 Check permissions
Make sure the files have the necessary read permissions (chmod 644on Linux).
3. Configure and launch Lead Scrape
The lead scraping tool automatically extracts the contact details of the targeted professionals.
Steps:
-
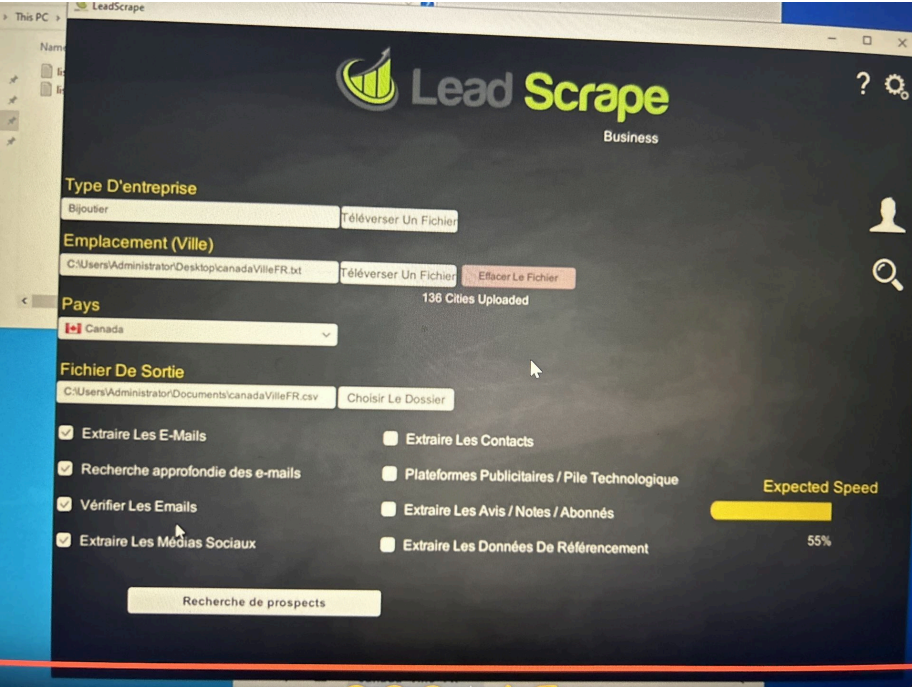
3.1 Open Lead Scrape
Launch the application installed on your VPS. -
3.2 Enter the main keyword
Example:jeweler -
3.3 Import the first list of cities
Selectcities_part1.csv, check the options you want (email, phone, website), then start the search. -
3.4 Repeat for the second list
Once the process is finished, importcities_part2.csvand run the search again.
4. Automate and optimize your process
To work more efficiently and avoid interruptions, remember to:
-
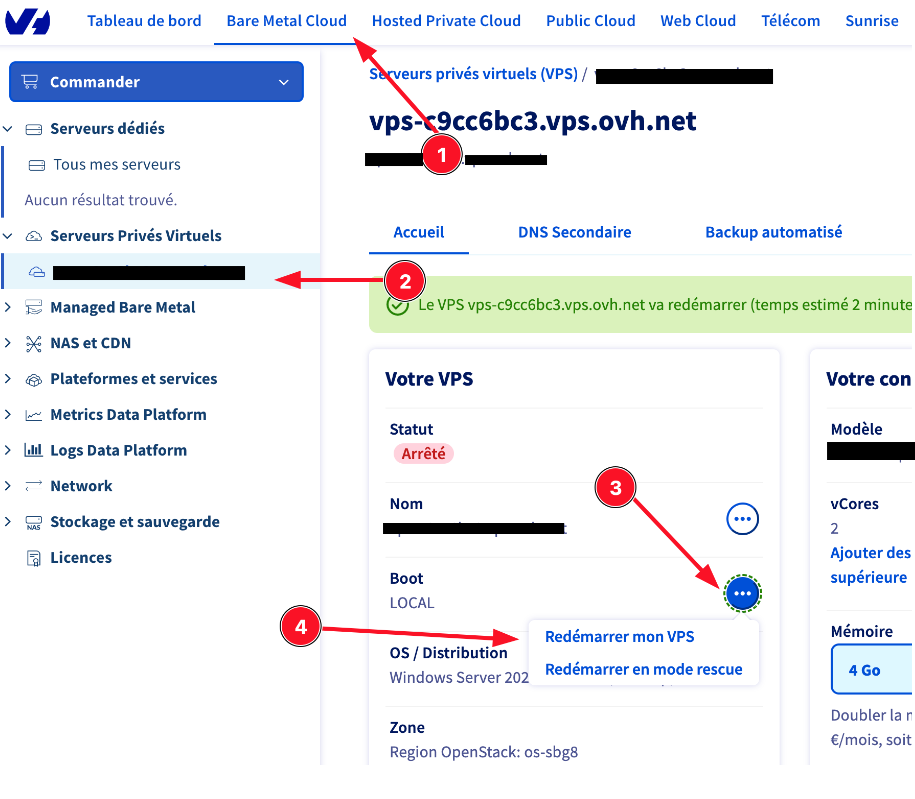
Restart the VPS automatically
Schedule a weekly restart to free up memory and keep the server stable. -
Vary trades and keywords
Create dedicated lists for other professions (hairdressers, restaurant owners, etc.) to expand your prospect database. -
Monitor quotas
Check regularly that you are not exceeding the extraction limits of your Lead Scrape license.
5. Key takeaways
By following these five steps, you will have a robust system to:
- Set up a secure VPS.
- Upload and organize your prospecting data.
- Run effective lead scraping campaigns.
- Automate server restarts and optimization.
Mini FAQ
Q: How do I choose the right VPS size?
A: Assess your RAM and CPU needs based on the volume of data to process: 2 GB of RAM is enough for small campaigns, 4 GB or more for heavy use.
Q: Can I scrape other trades at the same time?
A: Yes! Just create as many keyword and city files as you need, then automate the import into Lead Scrape. Combine this with Google Ads account rental to test your audiences quickly.
Q: How do I secure my data on the VPS?
A: Enable a firewall (ufw on Linux), disable unnecessary services, and change your administrator password regularly.